Dos and Don’ts of Drywall Repair

Dents, cracks, holes, and dings in your walls from daily wear and tear are inevitable—making drywall repair one of the most common home improvement tasks.
However, if drywall repair is done incorrectly, you’ll likely have to deal with unsightly patches in your walls, a less energy-efficient home, and exposure to moisture, pests, and more.
Be sure to correctly fix holes, cracks, and other damage to your walls and ceilings with these important dos and don’ts for drywall repair.
DO use the right tools for your job.

When preparing for any drywall repair project, you need to first consider the scale of the damage and what is needed to repair it. For minor damage such as nail and screw holes or small cracks, you will likely only need some joint compound (also known as drywall mud), a small putty knife, and sandpaper.
However, if your hole or crack is larger, you will likely need some additional supplies. Mesh tape is especially handy for slightly bigger holes or longer cracks. For more severe damage, a drywall patch may be your best option.
DON’T apply the joint compound too thickly.
When you are applying your joint compound, be sure to not do so too thickly. Using too much of the compound will create an uneven area and make it more difficult to sand in the end.
Instead, apply the joint compound in thin layers, allowing each layer to dry completely before applying another one. This will help you achieve a smooth and seamless repair that will be easy to manage.
DO use safety equipment.

As with any repair job or home improvement project, it’s crucial you use the proper safety equipment. Drywall is made of fine particles known as gypsum dust. This dust can cause serious health issues if you inhale it. Because of this, it is recommended that you wear a dust mask when working with drywall—especially when you are sanding your repair.
The gypsum dust can also dry out your skin, so it is also important to wear gloves throughout your drywall repair.
DON’T cut electrical wiring or plumbing lines.
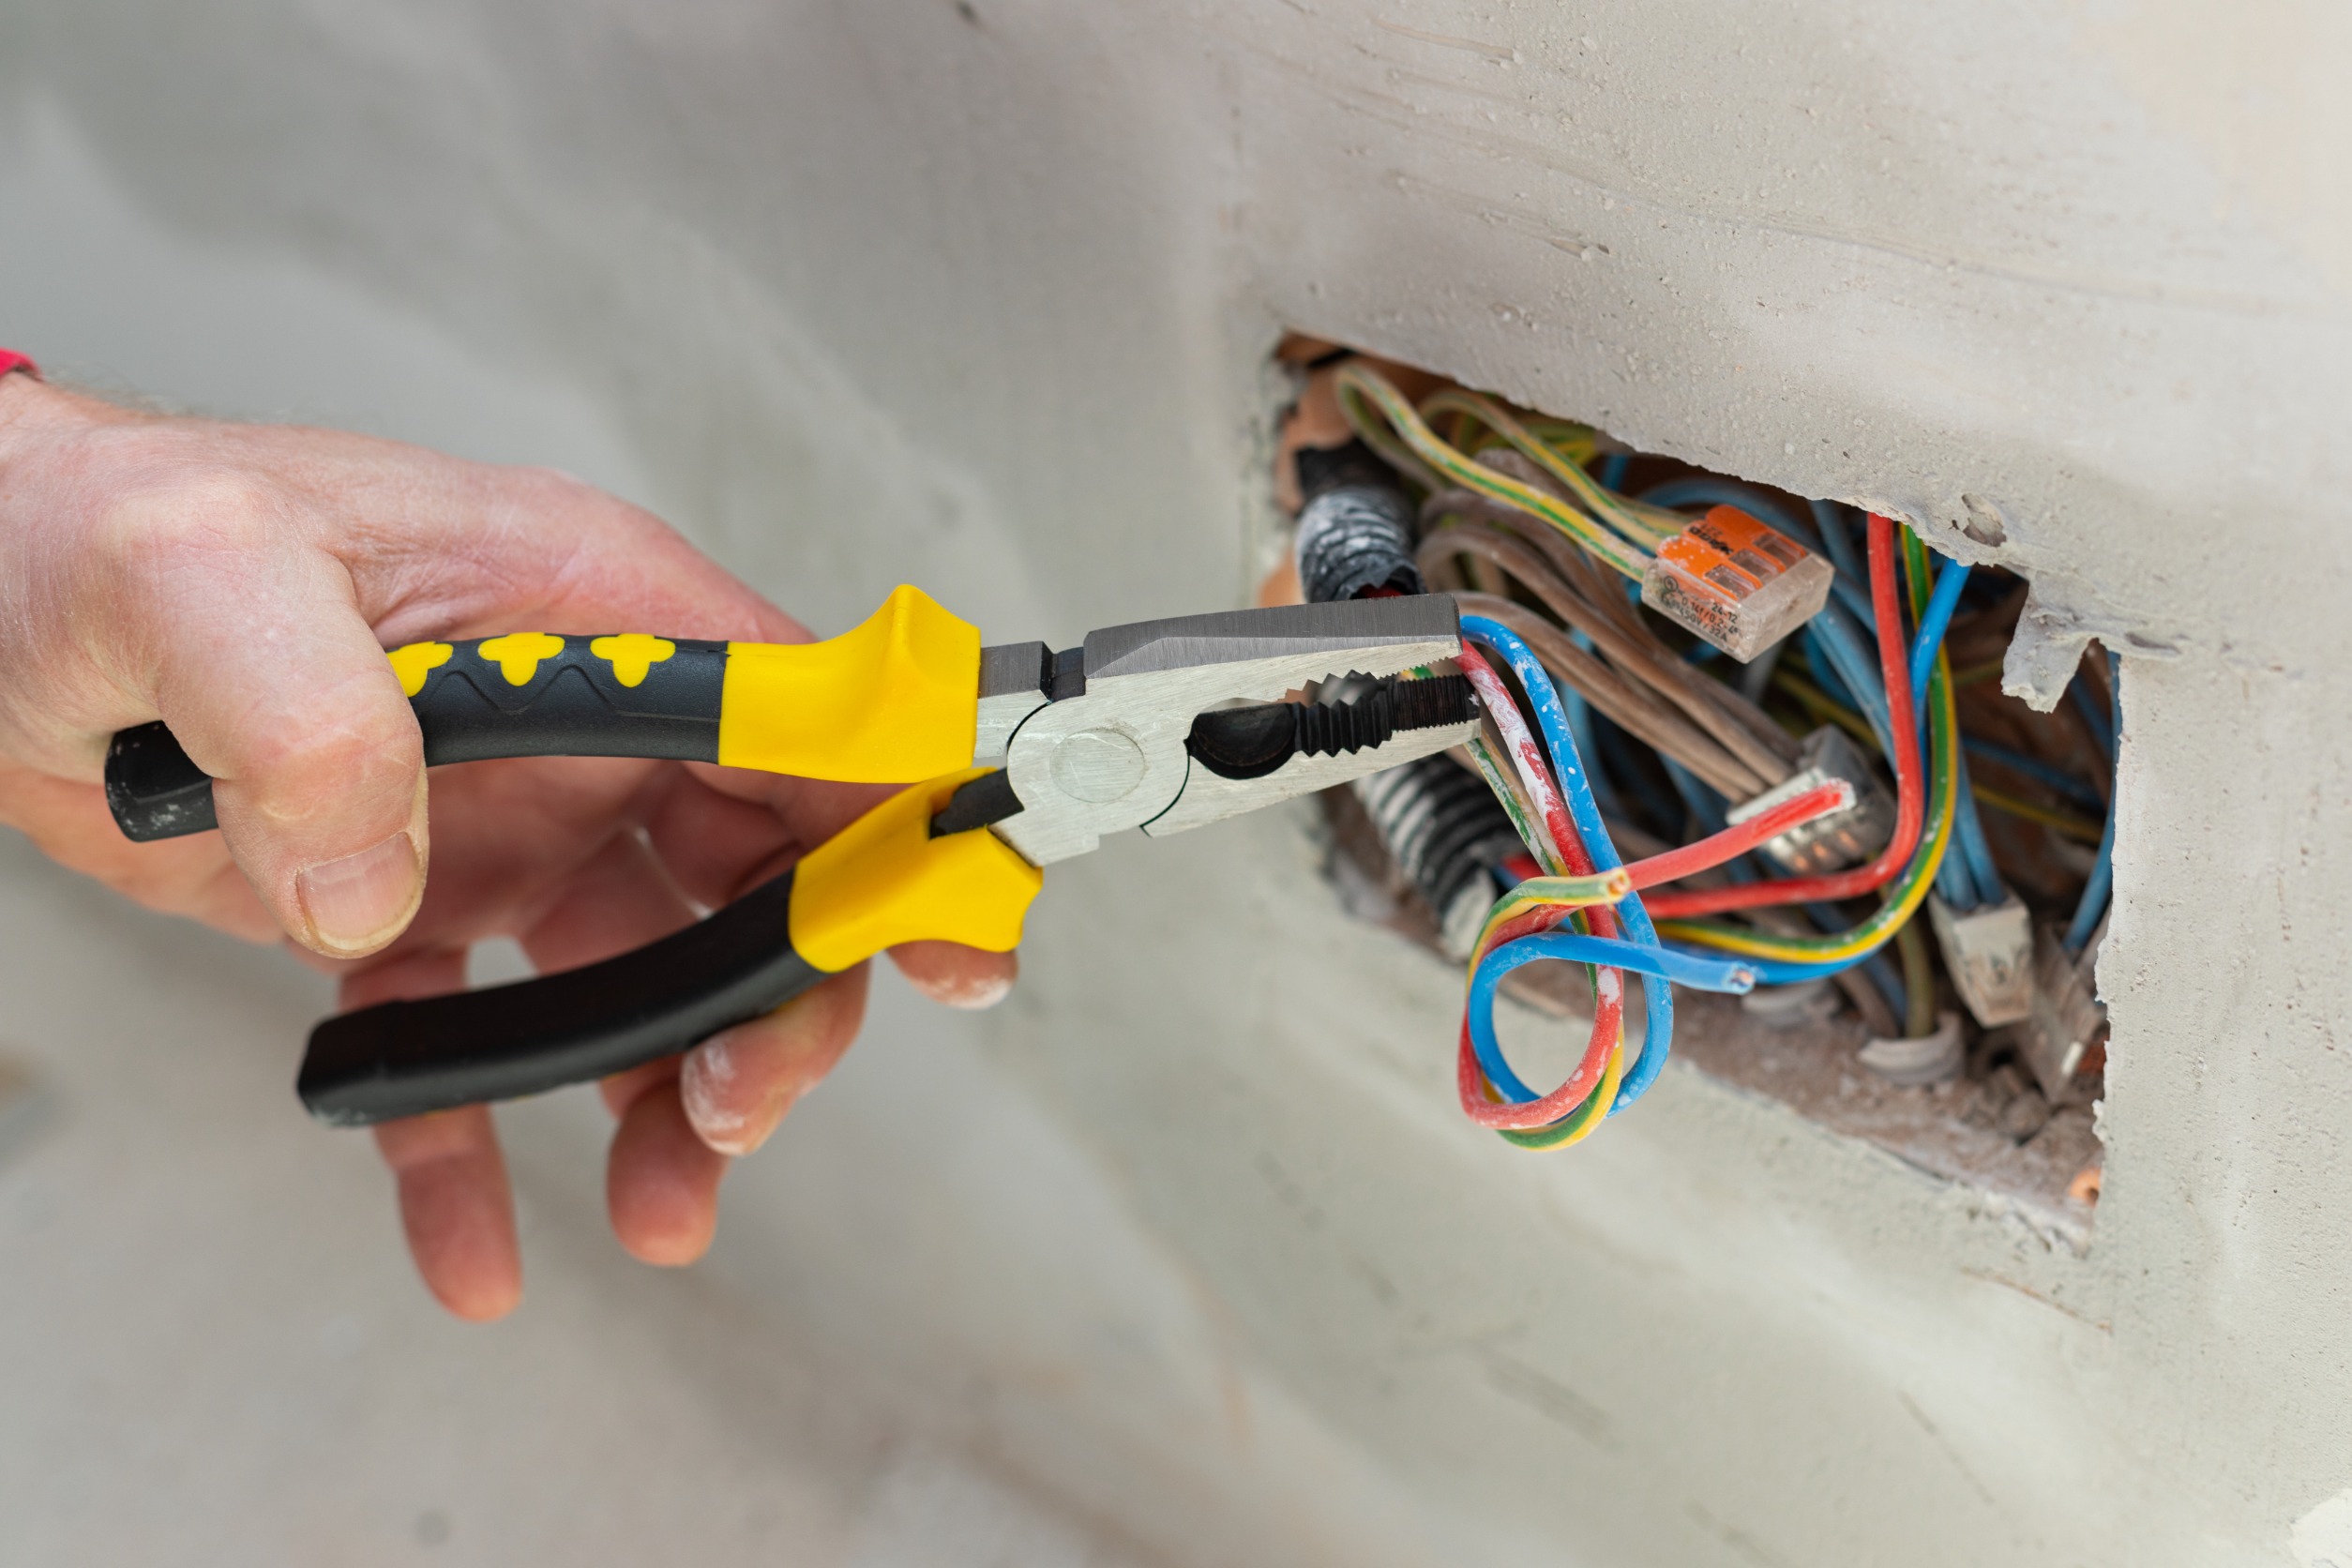
Before you begin your drywall repair, be sure to check if there are any electrical wires or plumbing lines in the area you are working on. Otherwise, you risk potentially cutting them and creating a much larger problem. When possible, use a flashlight to look into the wall to see if there is anything you need to avoid.
DON’T over-sand your repair.
You’ll want to sand your drywall repair down to make it even with the rest of the wall and to prep it for paint. However, be careful not to over-sand the area. This can lead to an uneven surface and make the repair look worse than it did before. Sand lightly and check frequently to ensure that you’re not removing too much material.
DO call a professional.
Some jobs can be overly complicated, too time-consuming, or potentially dangerous to do on your own. If the damage to your drywall is severe, you’re not sure how to repair it, or you’re just looking for a way to get it off your to-do list quickly—seeking professional help is a great option.
A trained professional can provide the needed tools and ensure that the job is done correctly the first time so that your walls look as good as new!
Don’t get stuck looking at the cracks or holes in your drywall. With the right tools and know-how, you can easily repair your walls and leave your space looking great again! If you’re still struggling with your drywall repairs or would like to leave it to the professionals, contact your local handyman for quick and easy solutions.

Home Care & Repair’s professional handyman services keep you in control of your small home improvements and repair projects and provide a worry-free experience when it comes to quality workmanship, fair pricing, and your safety. To learn more, please visit our website or follow us on Facebook and Instagram.